Today I decide to share with you my photographer kit for travel photography.
And especially for 20 days trip in Central America: Guatemala, El Salvador, Honduras and Costa Rica.
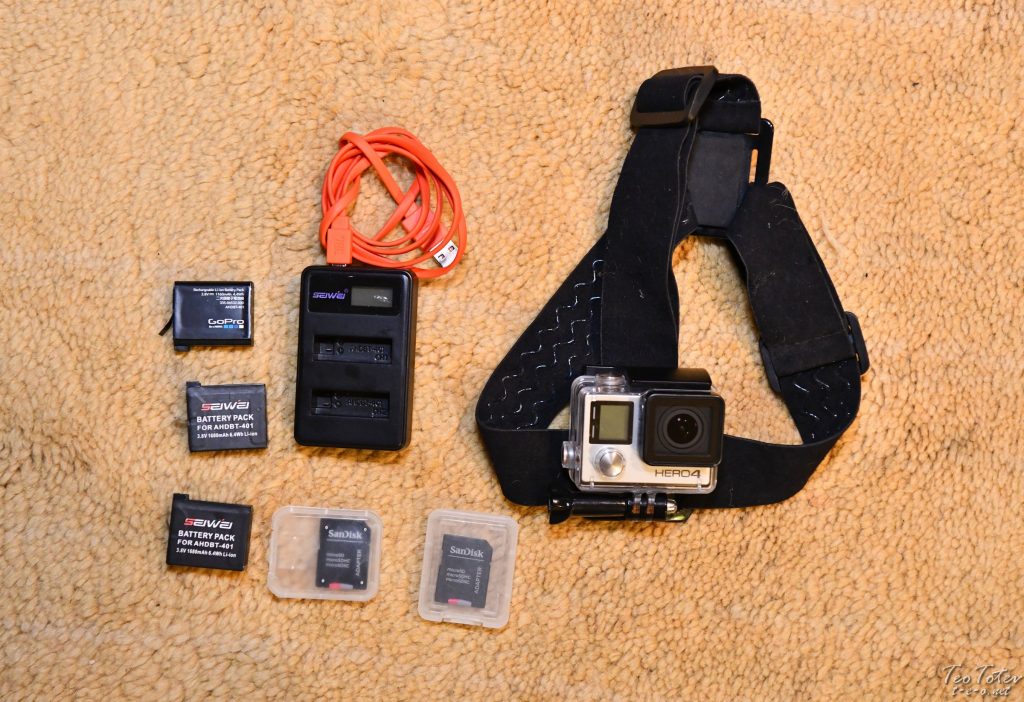
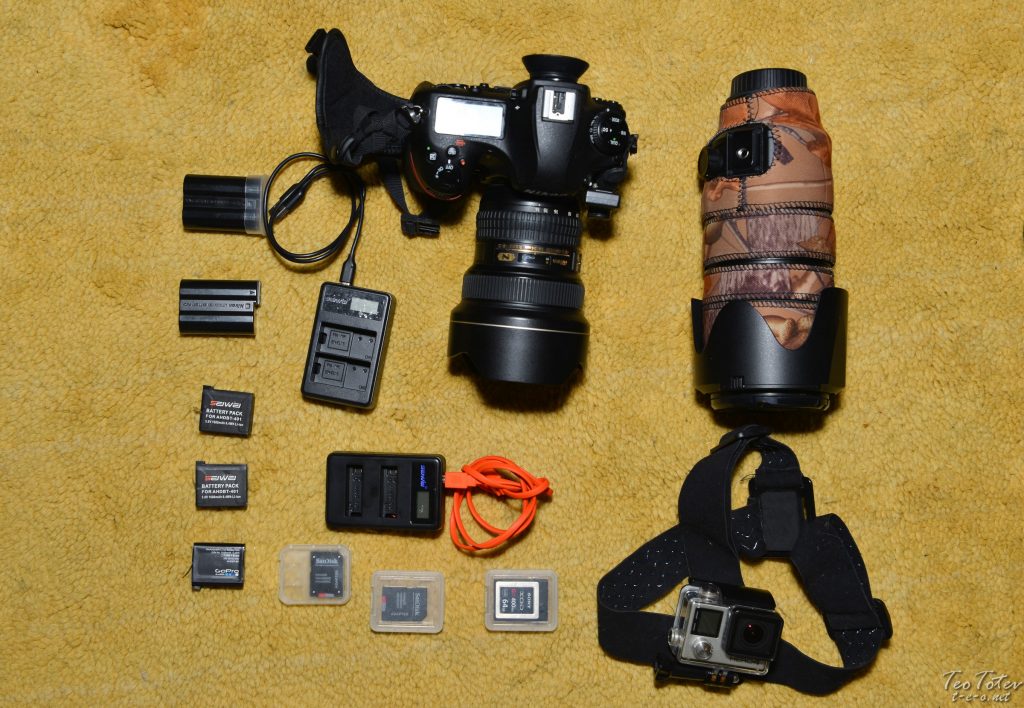
First – Action Camera.
No canyoning, zip line or diving can be photographed well without action camera.
So here it is my Choice
Unfortunately its low light capabilities are pretty limited and I only dream for moment when there will be action cameras with ass good sensors as on last iPhone.
Also Go Pro Hero 4 is draining batteries very fast, so this is why I have 3 spare batteries.
I’m usually using its mode to make videos and take photo every 5 seconds, so in end I have both photos and Videos.
And also Chinese made Seiwei USB charger with two slots, which if needed I can charge from my powerbanks.
Two extra memory cards finish the Action Kit.
Next are my communication devices and used for fast snaps.
One of the main thing which I use iPhone for photography purposes is to create TimeLapses.
As with DSLR this will eat a lot from shutter life.
And also iPhone is waterproof so no problem to take photos on beach or even in water.
And here it is my DSLR Nikon D850 with 14-24mm f/2.8 Lens and Nikkor 70-200mm f/2.8 VR Lens.
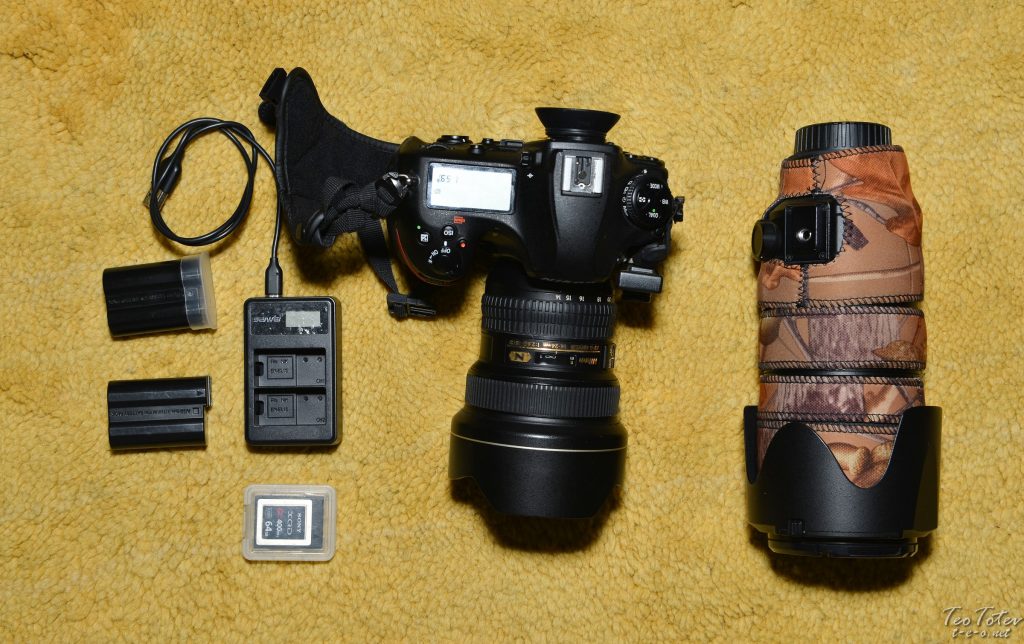
I always take two extra batteries, extra card and in this case also Chinese made Seiwei USB charger with two slots, which if needed I can charge from my power banks.
If you wonder about the gab between these two lenses, it turn out that while travelling I very rarely use anything in 24-70mm diapason.
I prefer either ultra wide or telephoto.
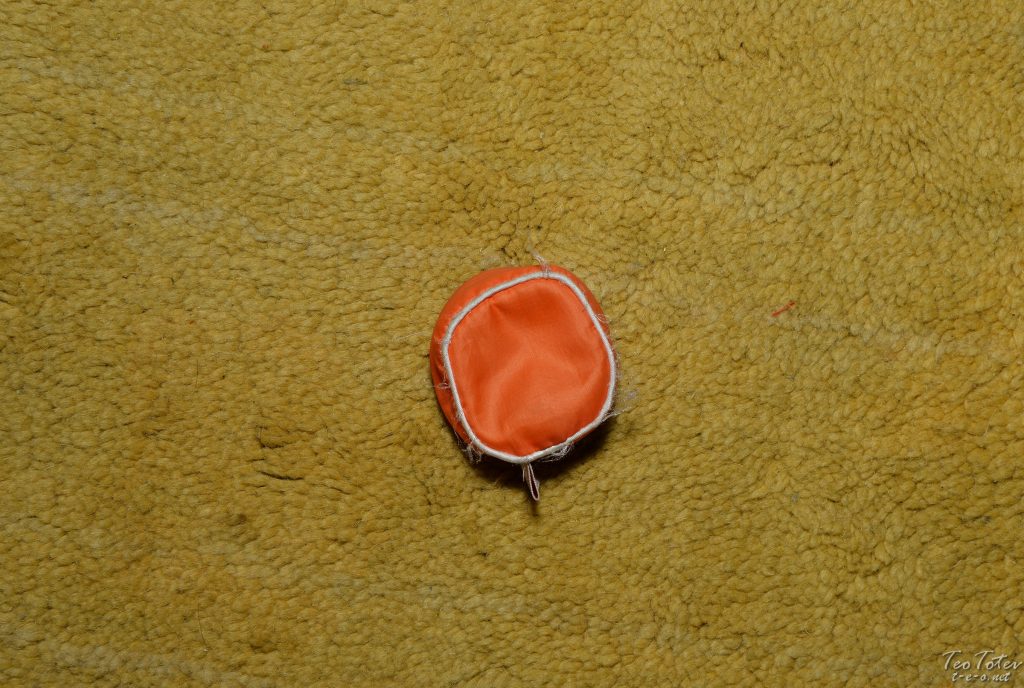
Even Nikon D850 have amazing Low Light capabilities I will still take my trusty tripod replacement or mini sand bag.
As it is very useful to put camera at right angle on some rock or railing.
Here are action and camera kit together:
I forget to mention above that when travelling I always have on camera attached smart port Di-GPS Eco Professional M.
It is logging GPS data directly into photos, doesn’t consume lot of battery and it is very fast in obtaining GPS data.
Previously I was using Bluetooth GPS receiver for camera, but this was draining battery very fast.
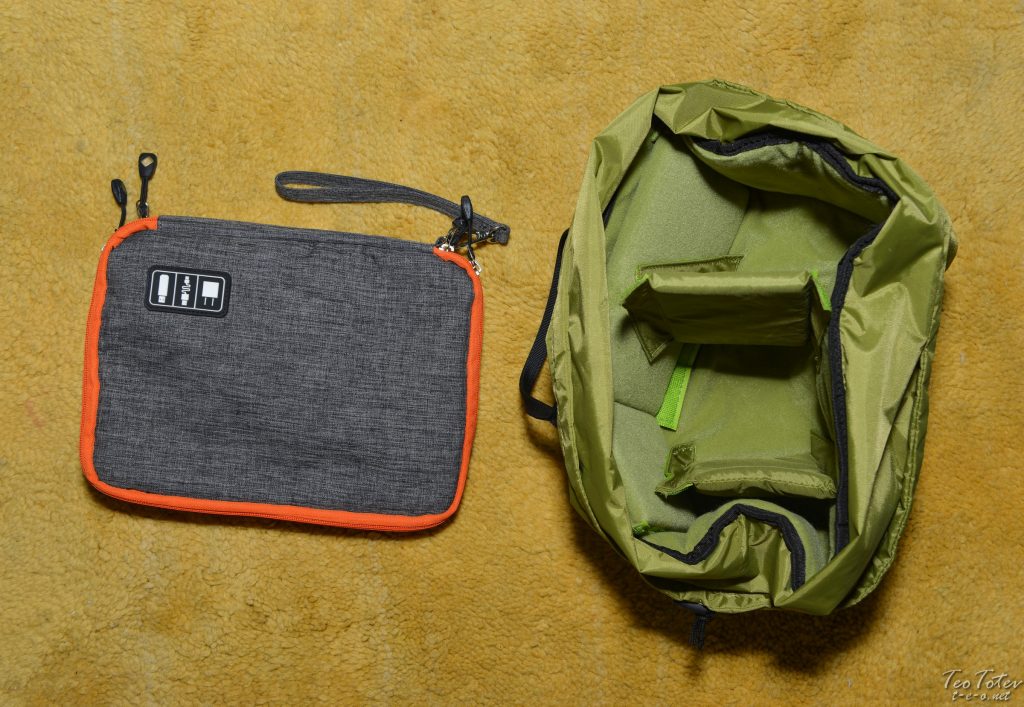
Travel photographer Camera Padding and Accessories Bag
My accessories and camera bag 🙂
You will easily say that this doesn’t look like camera bag and you are right.
This is only internal camera padding which I put inside my trekking backpack Mammut Nirvana Pro.
So this leave me lot of space for hike accessories: Jacket, Water, Food, poles and so on.
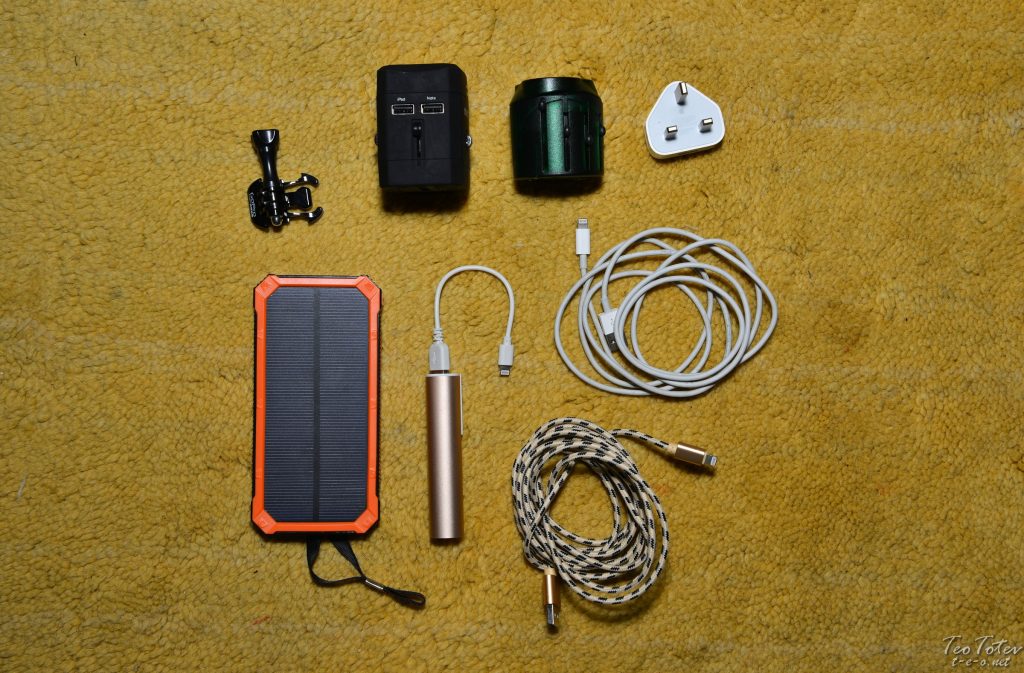
Travel Photographer Power Banks, Charges and Cables
Here are my Power Sources.
Two Universal Travel Adapters, one with two USBs, additional iPhone Charger.
Two Power Banks, one can be charged from sun and used as portable light where other is pocket size RavPower 3350mAh with ultra short lighting cable to charge iPhone in pockets.
Also 5 meter lighting cable which is very useful in hotels to use iPhone or iPad when they are being charged from usually hidden power sockets in hotel rooms.
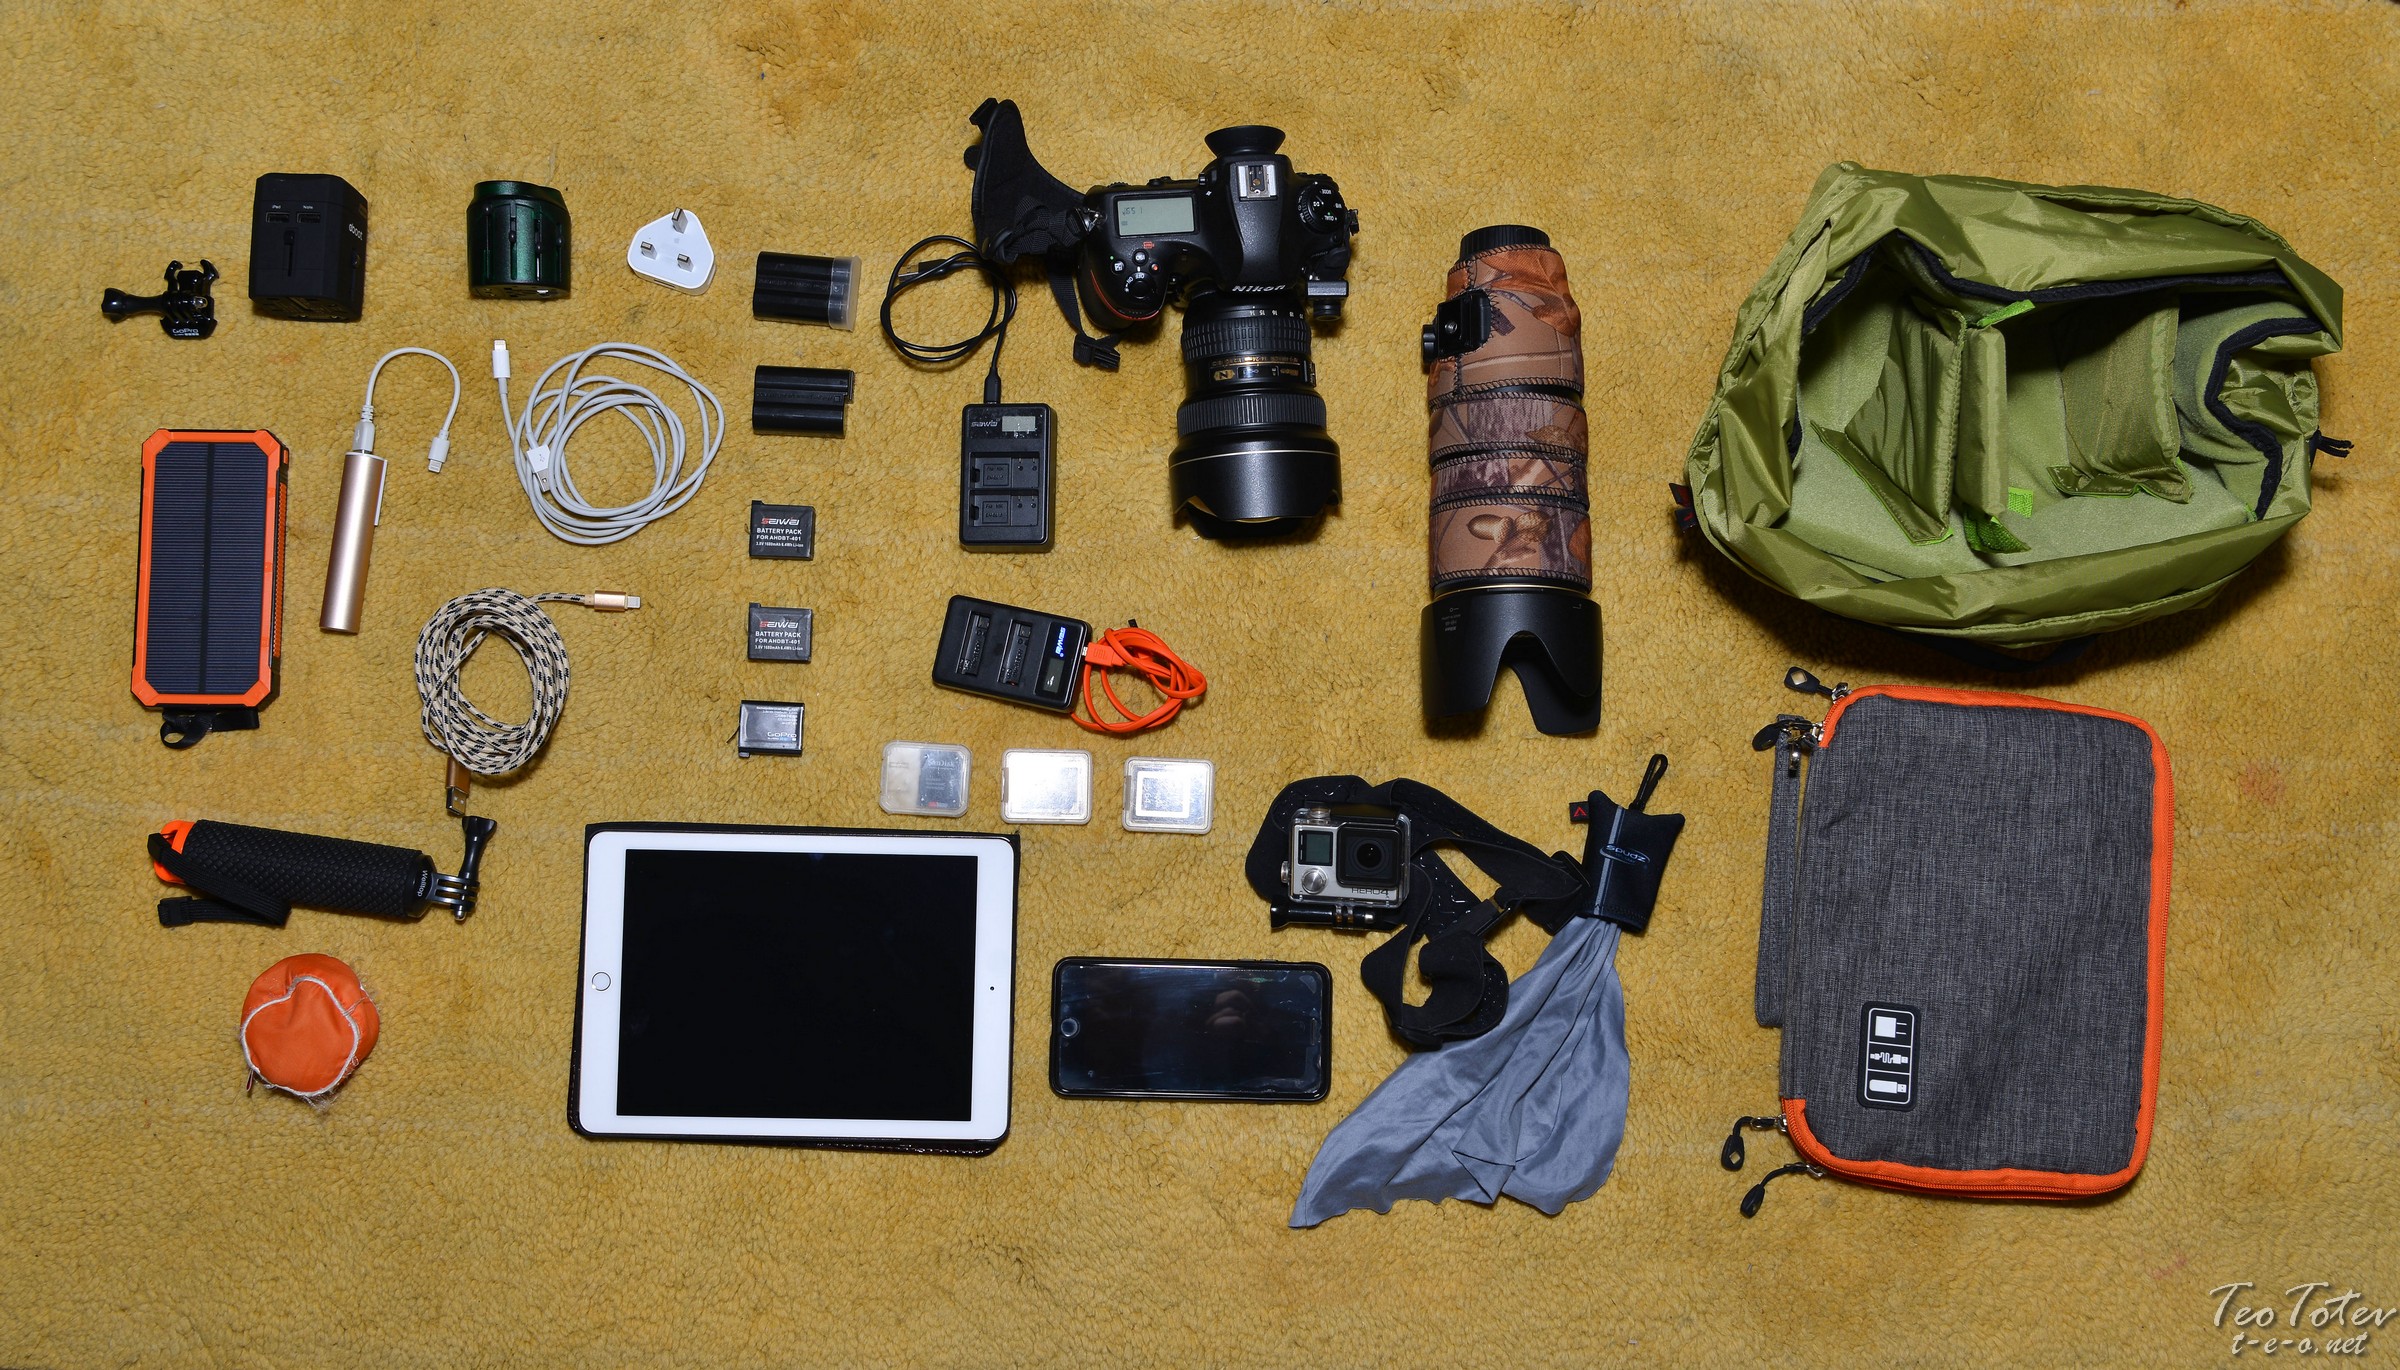
Lets see how my photography travel kit is looking so far / without bags /:
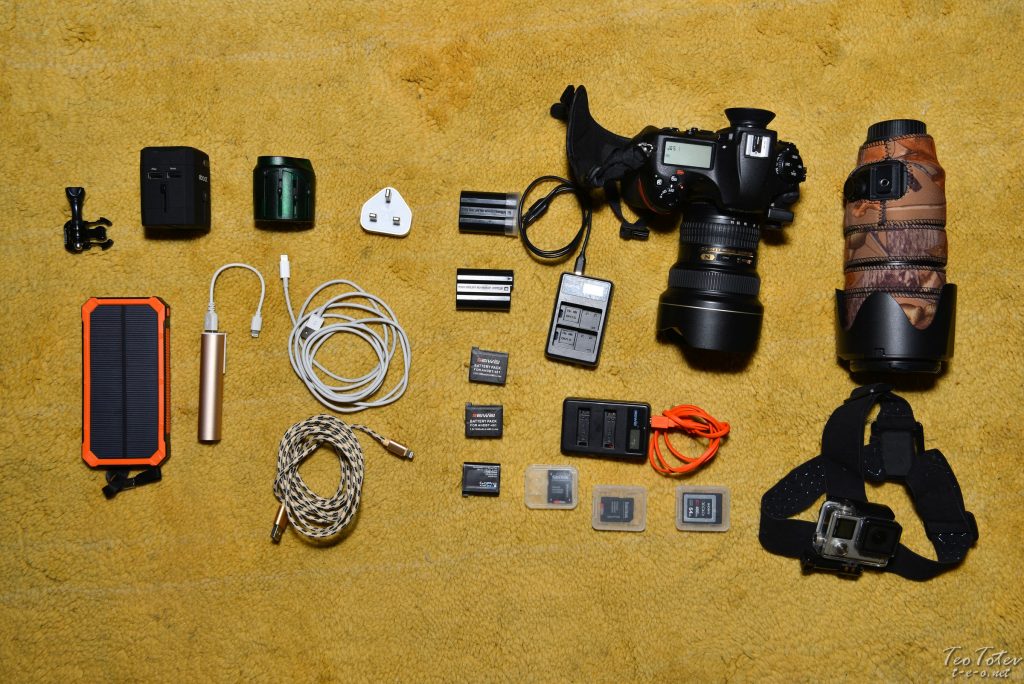
And here it is my whole travel photography kit together:
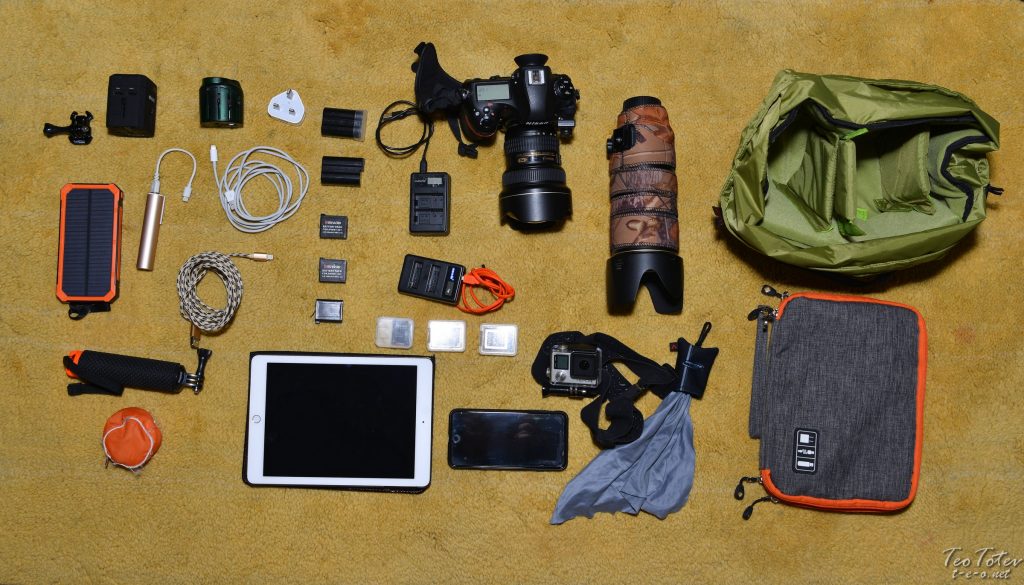
I have forgotten to add in previous photos of my Spudz Cleaning Cloth for camera and also Welltop Waterproof GoPro Floating Handle Grip.
Which is very useful if you want to take your room key or money with you while diving or snorkeling.
All Photos in this article were made with:
Cameras: Nikon D800, Nikon D850
Lens: Nikkor 24-70mm f2.8 VR
Flash: Nikon SB5000
Flash Reflector: Rogue Flash Blender
You can see also further articles on my blog like telephoto portraits
If you would like to find more and to see more of my photography work, please visit main part of my Website. For any queries and bookings please contact me. You can also find me on Facebook, Twitter or Instagram.
I hope you have enjoyed reading about my travel photographer kit, please share what is your travel kit in comments section below.
To book your family portrait photossession with me please contact me. You can also find me on Facebook, Twitter or Instagram.


